Along the same lines, they are slowly but surely catching in the custom development as well. Be it for flashing custom ROMs or trying a custom recovery, there’s a lot to look forward to. Along the same lines, you could also gain administrative privileges by rooting your device via Magisk. But before you could try out any of these tweaks, you would need to have to unlock the bootloader on your Cubot device. And in this guide, we will help you with just that. So without any further ado, let’s get started.
Benefits and Risks of Unlocked Bootloader on Cubot Devices
Unlocking the bootloader is the gateway to extract maximum benefits of Android’s open-source ecosystem. For example, you will be able to install a custom ROM or flash a custom recovery like TWRP. Likewise, you will also be able to get access to the system partition as well as administrative privileges by rooting your device via Magisk. This will then allow you to flash Magisk Modules, Xposed Framework, Substratum Themes, Viper4Android, Custom Kernels, among others.
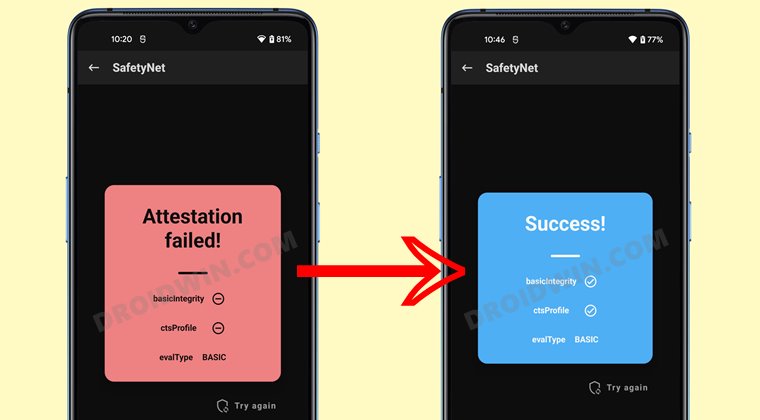
However, carrying out these tweaks brings in a few uninvited risks as well. To begin with, it will wipe off all the data and could nullify the device’s warranty as well. Along the same lines, it will degrade the Widevine L1 certification to L3, thereby preventing you from streaming content in HD [FIXED]. The SafetyNet will be triggered as well, thereby preventing you from using banking apps [FIXED]. So if that’s well and good then let’s get started with the steps to unlock the bootloader on your Cubot device.
How to Unlock Bootloader on any Cubot Device
The below instructions are listed under separate sections for ease of understanding. Make sure to follow in the exact same sequence as mentioned. Droidwin and its members wouldn’t be held responsible in case of a thermonuclear war, your alarm doesn’t wake you up, or if anything happens to your device and data by performing the below steps.
STEP 1: Install Android SDK
First and foremost, you will have to install the Android SDK Platform Tools on your PC. This is the official ADB and Fastboot binary provided by Google and is the only recommended one. So download it and then extract it to any convenient location on your PC. Doing so will give you the platform-tools folder, which will be used throughout this guide.
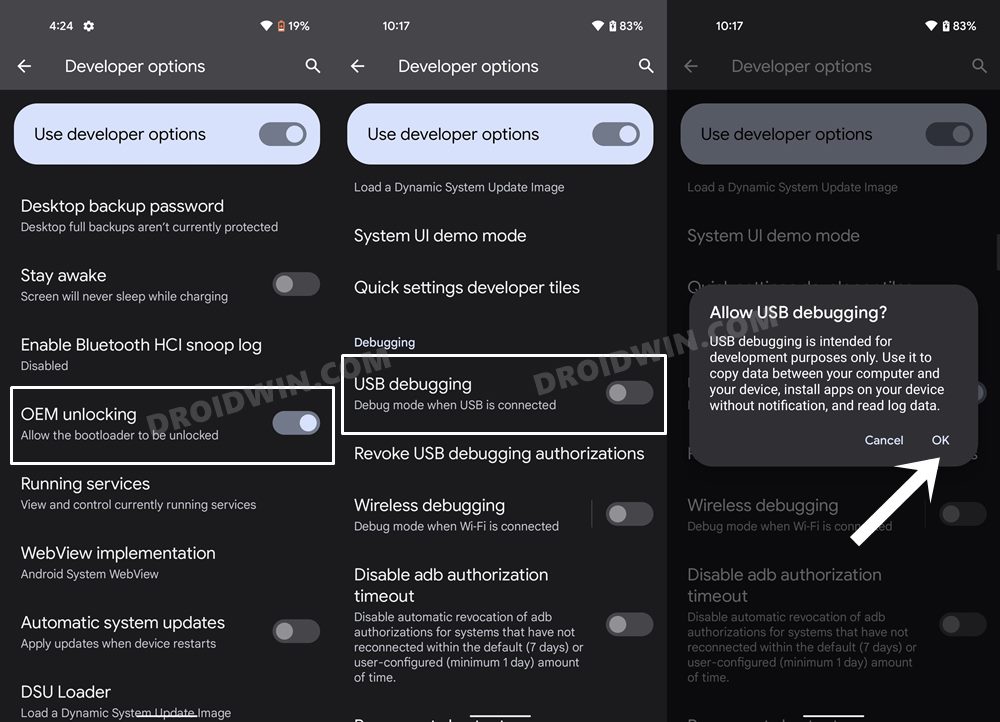
STEP 2: Enable USB Debugging and OEM Unlocking on Cubot
Next up, you will also have to enable USB Debugging and OEM Unlocking on your device. The former will make your device recognizable by the PC in ADB mode. This will then allow you to boot your device to Fastboot Mode. On the other hand, OEM Unlocking is required to carry out the bootloader unlocking process. So head over to Settings > About Phone > Tap on Build Number 7 times > Go back to Settings > System > Advanced > Developer Options > Enable USB Debugging and OEM Unlocking.
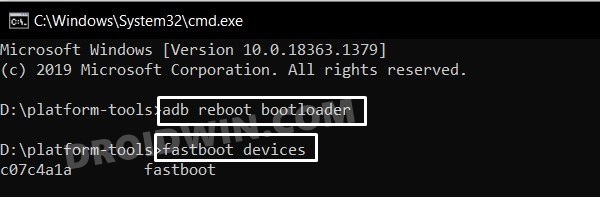
STEP 3: Boot Cubot Device to Fastboot Mode
STEP 4: Unlock Bootloader on Cubot Device
That’s it. These were the steps to unlock the bootloader on your Cubot device. If you have any queries concerning the aforementioned steps, do let us know in the comments. We will get back to you with a solution at the earliest.
About Chief Editor